Last week another of our young teammates celebrated a birthday. This time I decided to make some flower hair pins. I'd seen this project from Martha Stewart and had already started creating my own version of it. You can find Martha's tutorial here.

Martha's project calls for ultrasuede, a nice fabric which doesn't unravel. I can't exactly get my hands on any of that in Geita, so I decided to let controlled unraveling edges be a part of the look. Pretty stitches keep the fabric from unraveling too much, while adding a nice detail to the flower. Here's my process:
1- I cut out 5 petals. You could make a template, but I just free handed it. They don't have to be exactly the same, just similar.

2- Using some embroidery floss in a contrasting color, I did a simple running stitch around the edges, knotting the thread at both ends.

3- Following Martha's directions I attached the petals to each other. In this pic they are just all bunched up together. After knotting the thread you can spread them out.

4- I had to use several stitches between the first and last petal to get it to spread out the way I wanted. There wasn't really a science to it, just wriggling the fabric.

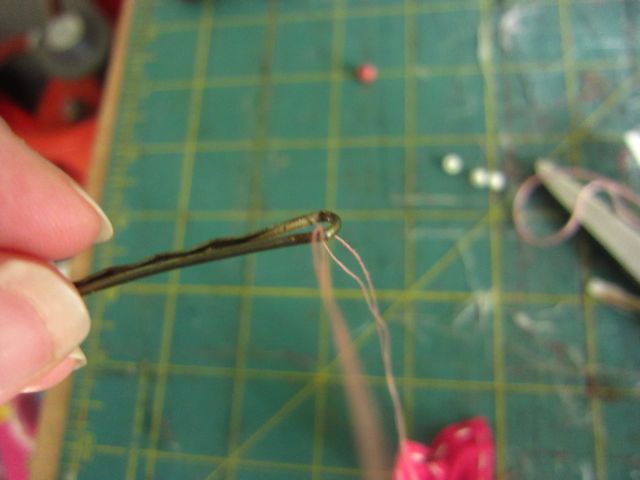
5- To make my flower into a hair pin, I added beads to the top of the flower while sewing a bobby pin on the back. Basically everytime I went through to the front I added a bead, then pulled the thread through to the back making sure to wrap in around the bobby pin. I used a double thickness of normal sewing thread for this. You could use embroidery floss if your beads have a big enough hole to allow for the embroidery floss needle. Otherwise, you'll have to switch to normal thread here.
If you look closely you can see where the pin is attached. I made sure that the stitches went as far down the pin as possible to secure it. I also did several extra stitches around the bend in the flower to secure it. You don't want the pin to just slide out.

Here are the two that I made for the birthday girl. For the one on the left I actually stitched the fabric to some felt that was cut slightly larger. I like the look of it and it adds some extra durability.

For the wrapping I cut out four circles of tissue paper, two for each side because it was kind of see through. Then I stitched most of the way around.

I dropped in the pins.

Then I finished stitching. It almost looks like an Easter egg.

Here's the birthday girl with her hair pins.

And her younger sister trying one out.

And here are a few more of these flowers that I've been working on. Some will become hair pins, some brooches, and some are already on headbands. None of them have the beads added yet. These two both have felt backing.

For the one on the right I used a double row of stitching.

Here are a couple of baby headbands, almost finished. These are a completely different style, just circles with french knots in the centers instead of beads.

No comments:
Post a Comment