Rather than focusing on just one artist, for this lesson we focused on a style, Impressionism. We did look at the work of Seurat and Monet, but didn't attempt to learn a lot about their lives, just their painting.
Have the 9 and 11 year old read the information on this page:
Have them explain the things they think are most important about Impressionism to the 6 year old. (assist if needed) Make sure they include how Impressionism was different from the current painting styles of the time:
subjects- everyday people
subjects not centered
painting outdoors
study of light
Show some images of Monet’s work. I used images from Wikipedia and made sure to include one of water lilies.
Assignment-
11 year old-
I had her do an impressionist style picture from our flower bed outside. I let her choose which section to do and gave her a piece of cardstock with a 3x3 square cut to help her choose her composition. By closing one eye and moving the square closer to or farther away from you eye you can zoom in and out on the scene. It helps when deciding how much of the scene to include in the picture. She was also working on a square piece of paper. In this case I had her use oil pastels rather than paint to avoid the ordeal of getting paints outside and colors mixed. The focus was on the style of impressionism and the idea of working outdoors.
Here is the finished piece.

Meanwhile, with the 6 and 9 year old:
Seurat-
Georges Seurat took impressionism a step further and created a style that is known as pointilism. He covered his canvas with tiny dots to create an image. Rather than mixing green paint, he would place blue and yellow dots close to each other so that from a distance they looked green.
Look at one of his paintings
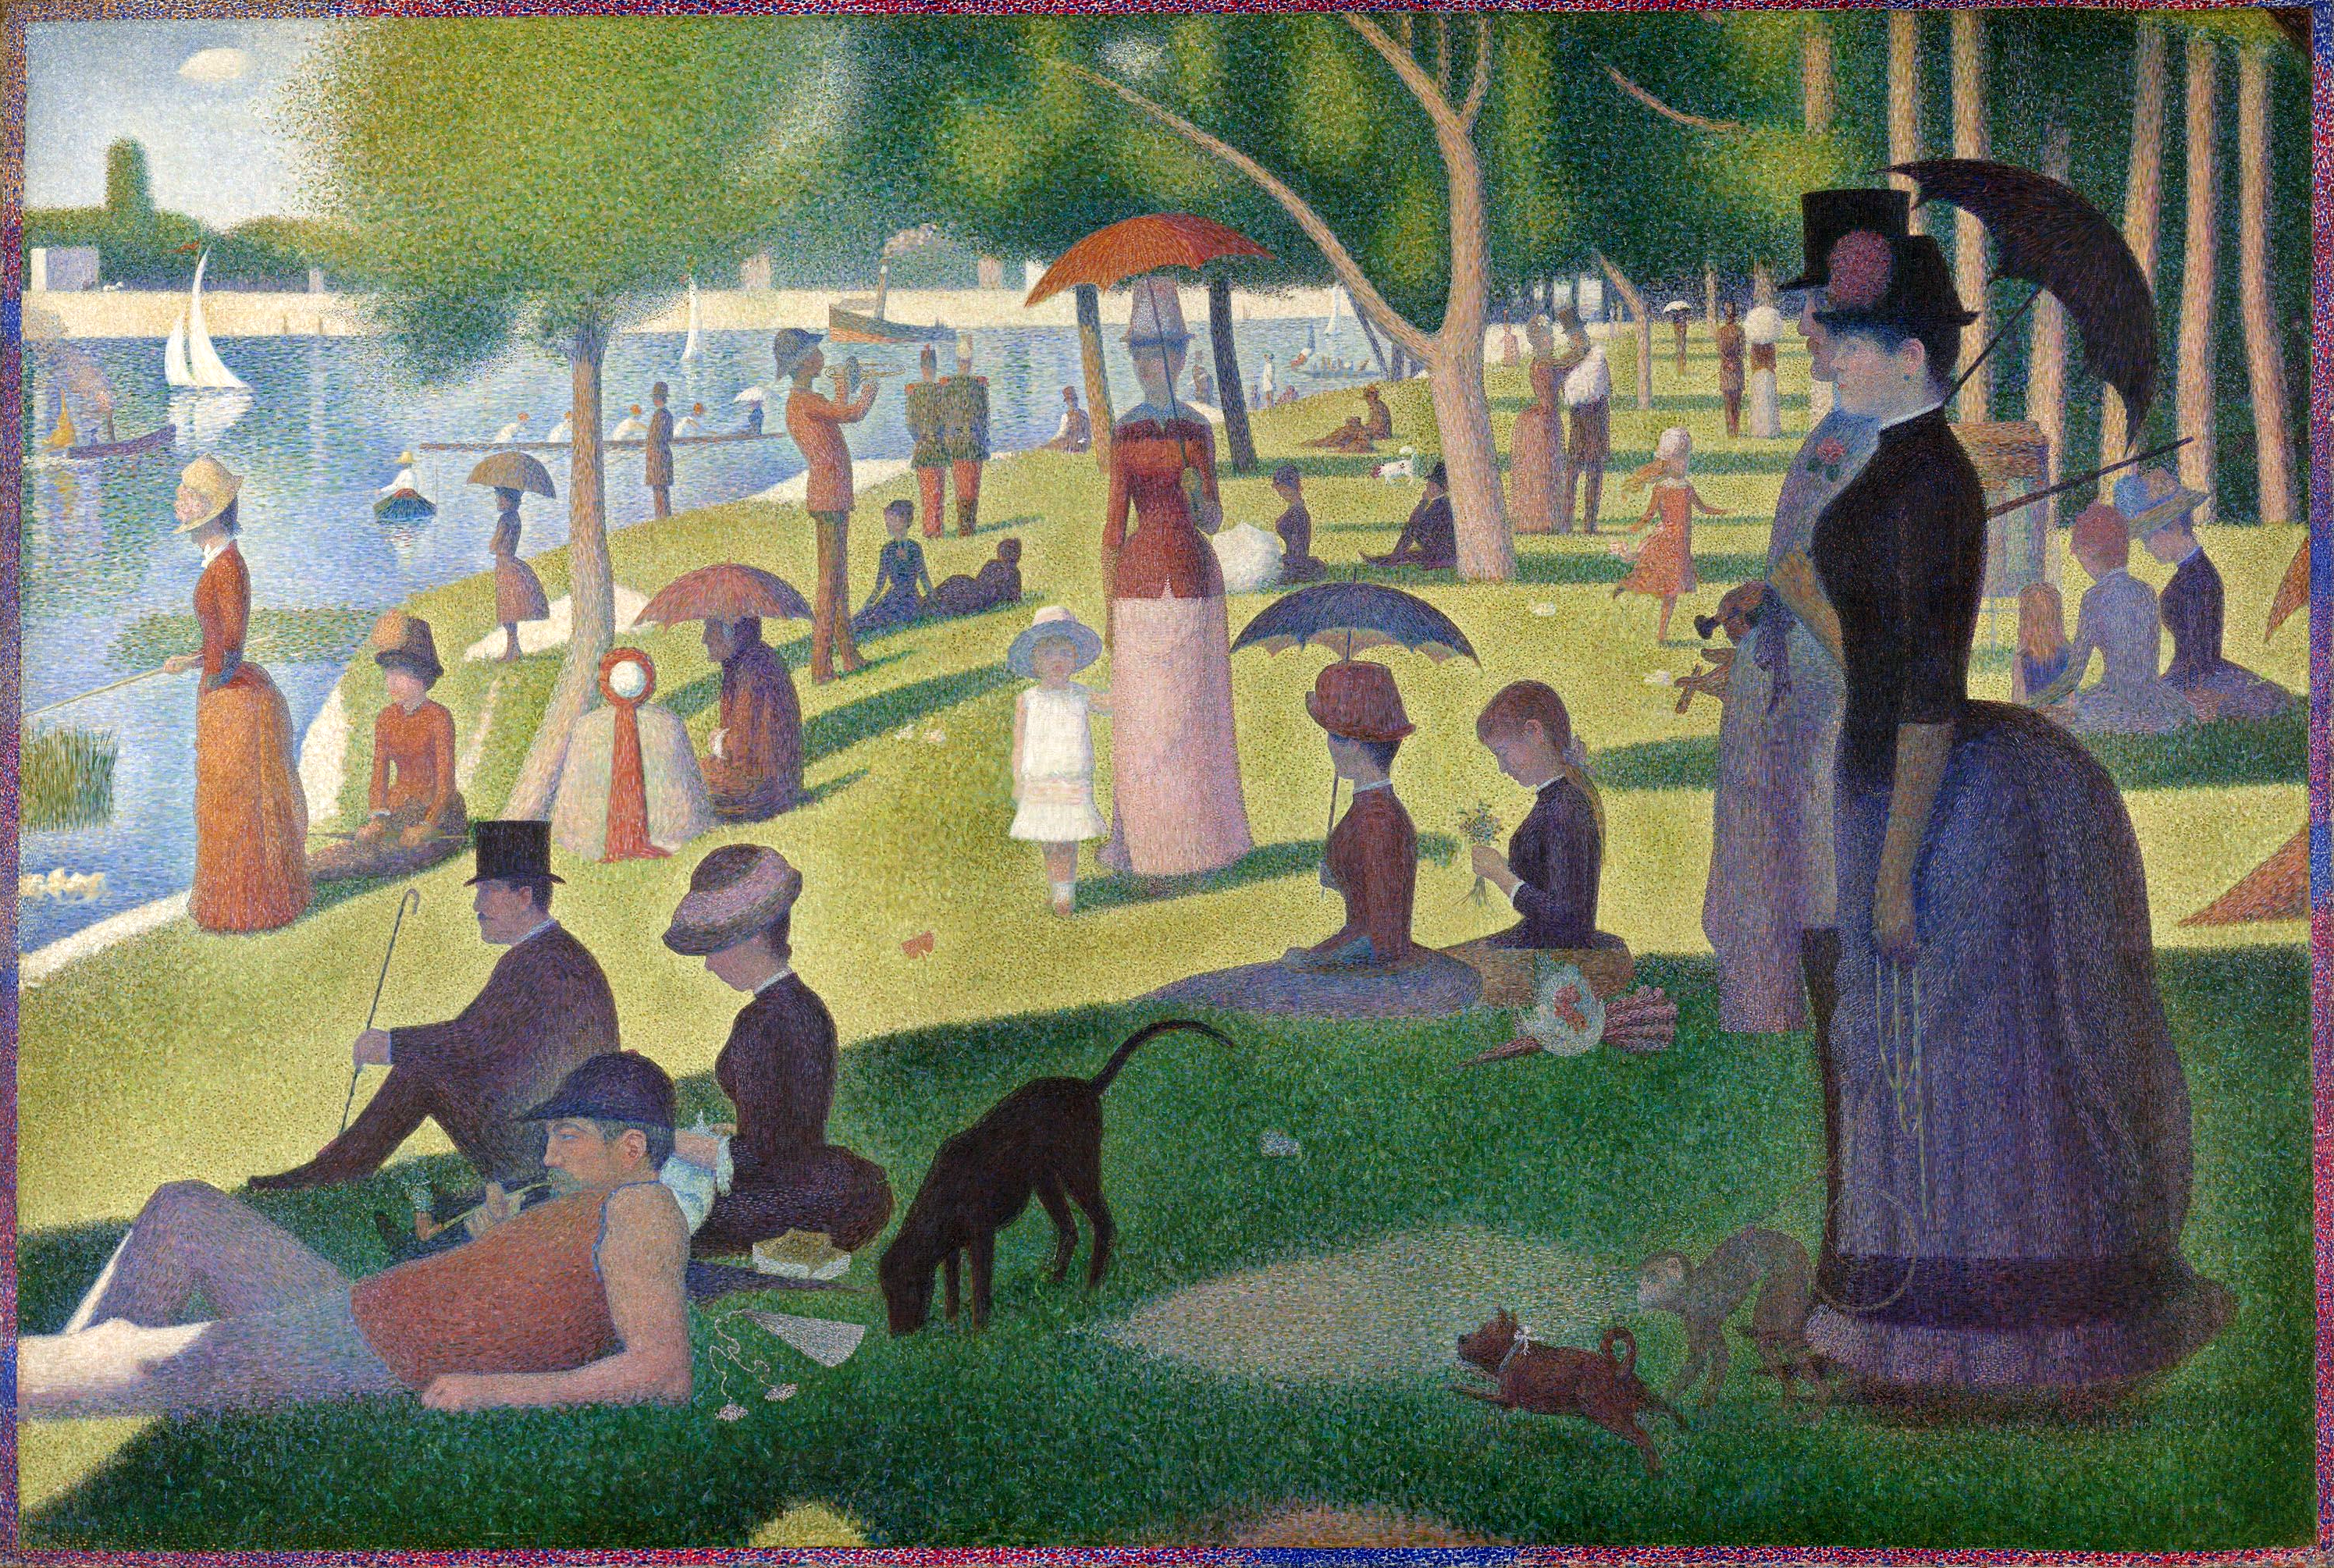
Assignment-
Using q-tips or pencil erasers, create a pointilist picture. Give the student a picture to copy of something simple, such as a flower. I just googled red flower and choose a pic that was simple. This takes a while so start out doing a very small picture. Demonstrate this technique and stress taking your time. I had my students do a flower. First, they sketched the basic outline of the flower. Then they filled in the background with green and last they painted the flower. I had several shades of red and green already mixed for them and one shade of yellow. To make a darker red or green add a little black, to make a lighter shade add a little white.
Here's what the paint tray with different shades looked like.

The pointillist pieces. left is the 6 year old's and right is the 9 year old's.

After everyone was finished I let the kids share their pictures with each other and had the oldest tell us what it was like to work outdoors, so we could really think about what the Impressionists were up against (heat, cold, wind and light constantly changing, etc).
No comments:
Post a Comment